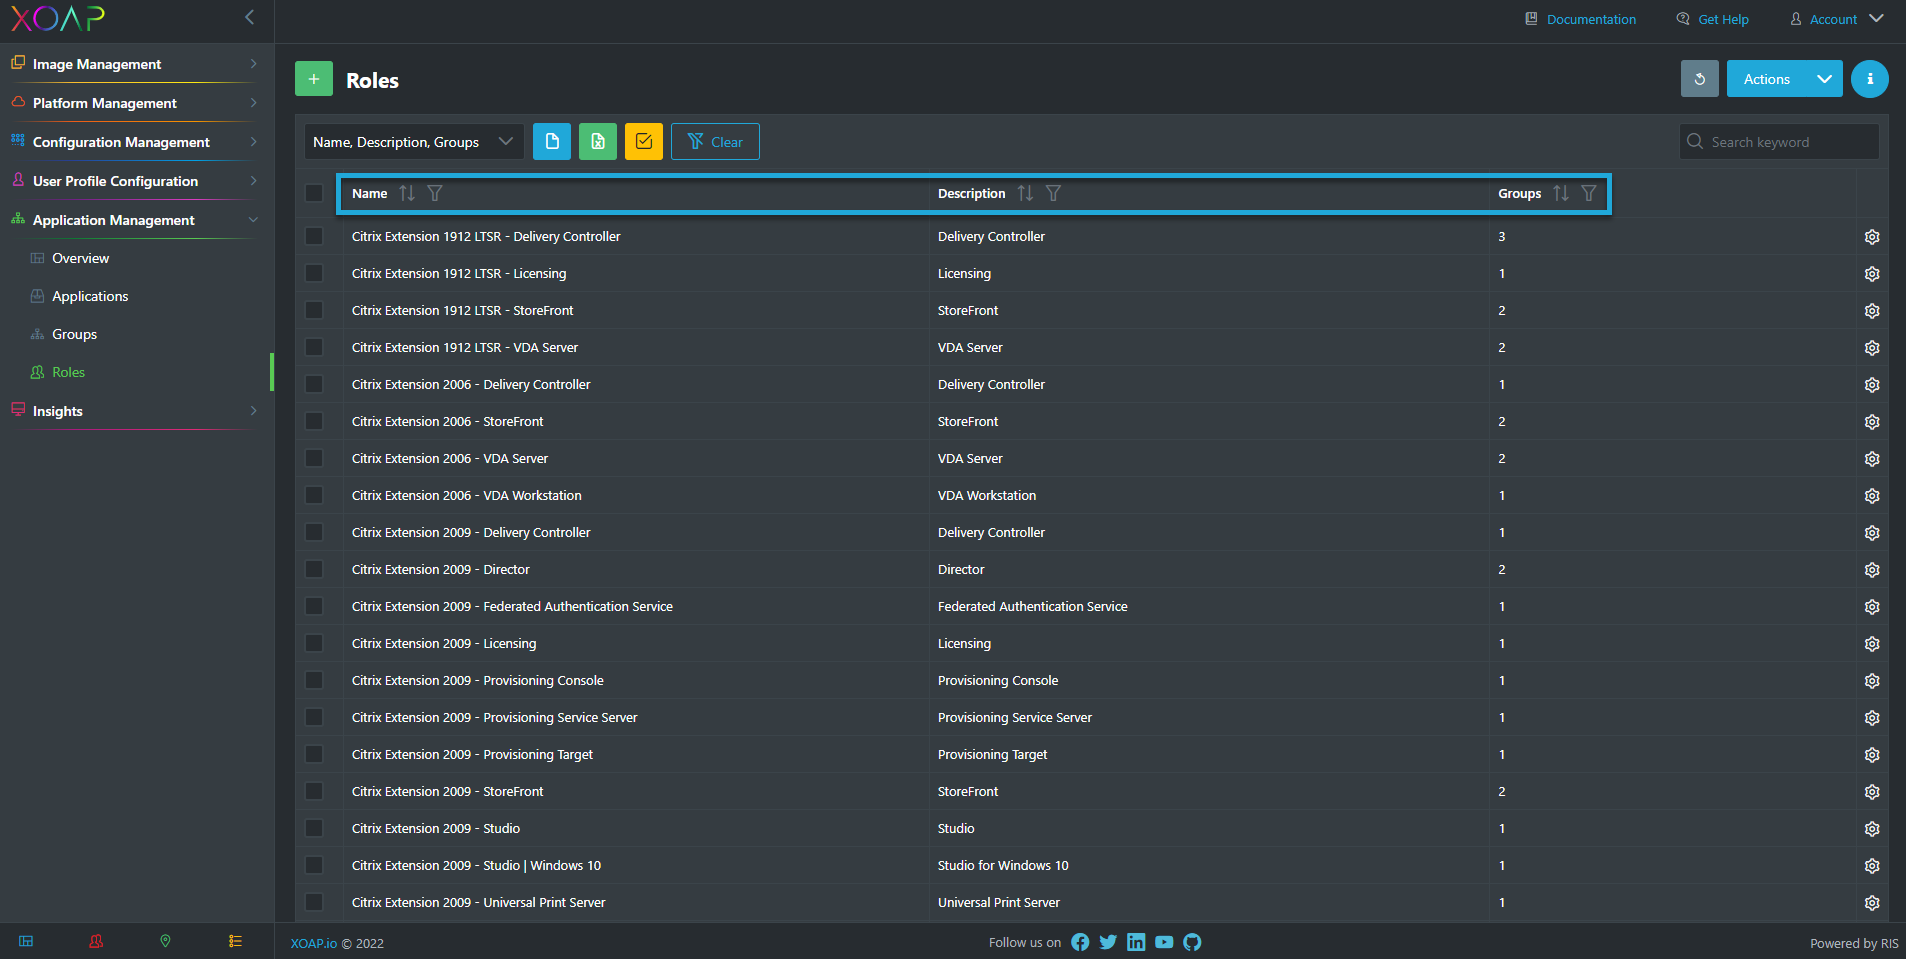
This area shows all available software installation roles.
Roles are used to logically combine application groups that are needed for a specific use case. You can create roles for example a Citrix VDA installation with prerequisite-, main installation- and application-groups.
Use roles to logically combine application groups and order them as needed. The installation order is taken from the roles and groups order.
Table View
-
Name: This is the name of the application role.
-
Description: This is the description of the role.
-
Groups: This is the number of groups which are assigned to the role.
Action Menu
These are the actions that are available for the specific entry. To access them, click on the Gear:

Edit
With this action you can edit the role.
Download
This action downloads a PowerShell script to your computer that you can run to install the application role.
Delete
This action deletes the corresponding role.
Add Role
To add a role simply click on the + button.

A new window opens:

-
Specify a Role Name and a Description.
-
Under Available Groups you will find all of your groups that you created previously.
-
To add groups to your roles, click on the +.
Specifying role names makes it easier for your colleagues to find the right roles and you can additional search the description as well later.
You will now find the added group in the Selected Group tab:

-
Change the role order by using the Burger Menu on the left of each role to the location where you want them to be installed.
-
The selected configurations can be deleted by clicking the -.
Add additional groups by choosing them under Available Groups.
Click on save and you have finished creating your role.