Before you can upload a configuration to config.XO you need to write one on your authoring machine.
For this example we assume you want to upload this little configuration:
Configuration WebsiteTest {

    # Import the module that contains the resources we're using.
    Import-DscResource -ModuleName PsDesiredStateConfiguration

    # The Node statement specifies which targets this configuration will be applied to.
    Node 'localhost' {

        # The first resource block ensures that the Web-Server (IIS) feature is enabled.
        WindowsFeature WebServer {
            Ensure = "Present"
            Name   = "Web-Server"
        }

        # The second resource block ensures that the website content copied to the website root folder.
        File WebsiteContent {
            Ensure = 'Present'
            SourcePath = 'c:\test\index.htm'
            DestinationPath = 'c:\inetpub\wwwroot'
        }
    }
}
Another important part of the configuration is the backend configuration for the XOAP frontend. Be sure to add the following lines to your configuration.
Import-DSCResource -ModuleName "XOAPBaselineModuleDSC"
If you use the DSC Configuration Wizard to create configurations this module is added automatically. No need to care for it.
Open Visual Studio Code and paste the code from above into a new document. Save it locally as WebSiteTest.ps1.

Now switch to the Configurations area in config.XO and hit 1. the + button and 2. a new window opens.

Choose the created file and assign a tag to the configuration if you want to.
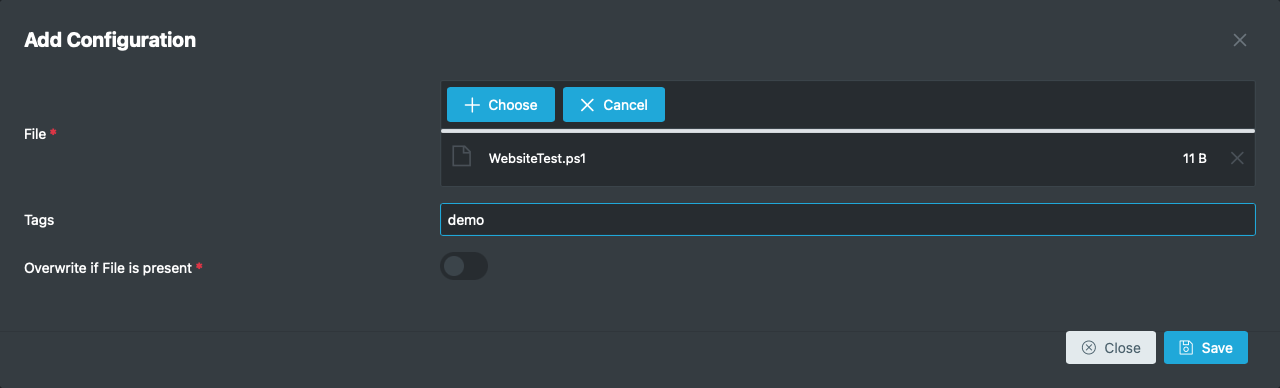
Click save.
The configuration will now be compiled and signed with a Code Signing Certificate. After a few minutes it will be available in the Configurations area.